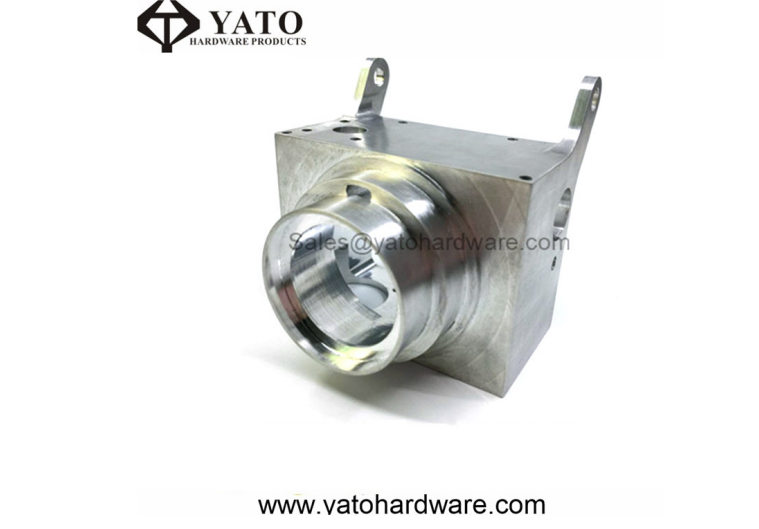
Whether the quality of the 5 Axis Precision Machining is qualified is not arbitrary, but is subject to a series of rigorous tests. The above-mentioned tests include touch inspection, oil inspection, sanding inspection of flexible mesh, oilstone polishing inspection and visual inspection.
The so-called touch inspection is to wipe the surface of the automobile stamping parts with clean gauze. The staff wears touch gloves and touches the surface of the stamping parts along the longitudinal direction of the stamping parts. The experience of the inspectors in this process is very important.
After wiping the surface of the CNC Milling Precision Components of the car with clean gauze, evenly apply a clean brush to the entire outer surface of the stamping in the same direction; then place the finished stamping on the glare Under the test, to observe whether there are tiny defects such as pitting, shoal, and ripple on the stamping parts.
The stamped parts of the car that have been wiped clean can be polished with a flexible gauze or with a whetstone, so that any pitting and indentation on the surface of the stamped part can be easily found. The flexible gauze is longitudinally sanded while the whetstone is sanded, and the whetstone is also applied longitudinally and conforms well to the surface of the stampings, but some special areas can also be used for lateral sanding.
Visual inspection is a relatively simple inspection of automotive stampings, through which it can be found that the appearance of stampings is abnormal and macroscopic, without the need to touch any tools and techniques. Regardless of the defect determined by the test method, it should be resolved as soon as possible to avoid further serious problems.
